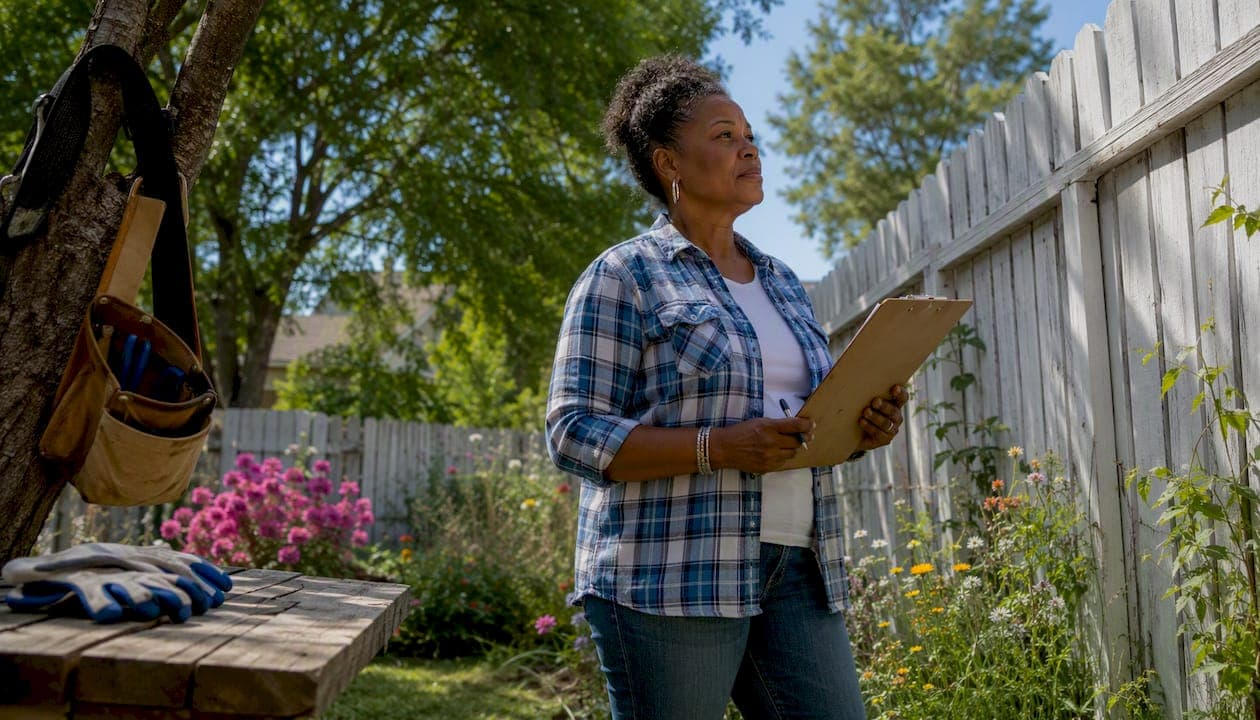
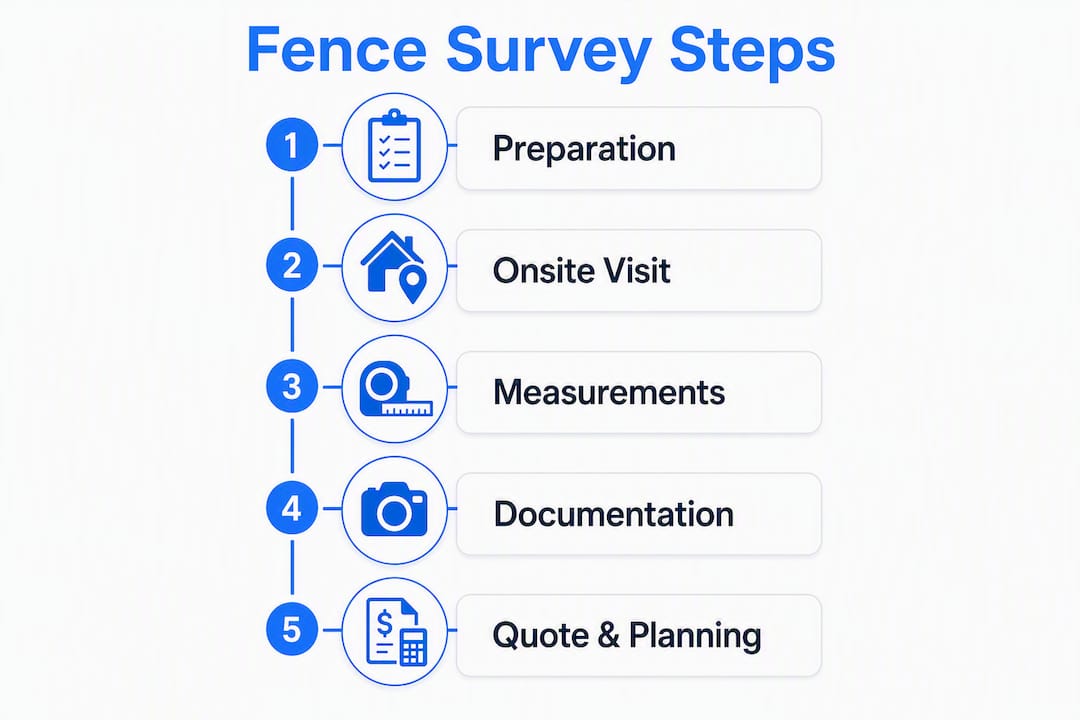
A contractor on-site fence survey is a short, in-person visit where a fencing professional walks your property, measures each run segment by segment, counts and locates gate openings, documents site conditions, and produces a marked sketch with an itemized estimate. Most residential visits typically run from a short to moderate amount of time, and reputable contractors like Advantagefencenj deliver a written estimate within 24–48 hours. That single visit determines your final price, your permit path, and your install timeline.
What you receive after the visit:
- A marked aerial sketch or hand-drawn diagram showing the proposed fence line, gate locations, and any noted obstacles
- An itemized written estimate with separate line items for linear footage, gates, tear-out, site prep, concrete, and permit fees
- Permit guidance based on your municipality's requirements and any HOA rules the estimator noted
- A start-date estimate and quote expiration (commonly 30 days)
Satellite tools and county GIS records can give a contractor a rough perimeter before the visit, but satellite measurements typically fall within 5–10% of ground truth. That gap is wide enough to change a quote by hundreds of dollars on a standard residential job. The on-site visit closes that gap.
Table of Contents
- What does a fence survey cover on your property?
- Why an in-person visit beats a satellite estimate
- What is the timeline from survey to completed fence?
- How do contractors price a fence installation?
- How to prepare your property before the estimator arrives
- Questions to ask the contractor during the survey
- Red flags to watch for in an estimate or contractor
- Key Takeaways
- What contractors wish you knew before the survey
- Advantagefencenj's on-site survey process and how to book
- Useful sources and next steps
What does a fence survey cover on your property?
The estimator is not just counting feet. Each segment of the fence line gets measured and recorded separately, not rolled into a single total. That matters because a 150-foot run along a flat back yard prices differently than a 40-foot run down a steep side slope.
Here is what a thorough site visit records:
- Linear footage per run: each segment measured individually so pricing reflects actual conditions
- Gate openings: location, width, swing direction, and hardware type (walk gate vs. drive gate)
- Site conditions: grade and slope, soil type (clay, rock, sandy), tree roots, buried obstacles, and existing fence that needs tear-out
- Access and logistics: whether equipment can reach the fence line, and any narrow passages that require hand-digging
- Utility notes: proximity to gas, water, or electric lines (call 811 before any digging)
- Post and corner locations: proposed spacing and expected post depth based on fence height and soil
- Photos and sketch: corners, grade changes, obstacles, and gate areas all photographed for reference when building the final quote
Photographing the entire fence line during the survey is a small step that prevents costly disputes later. A photo of a buried concrete footer or a drainage swale taken during the estimate is worth more than any written note when a change order comes up.
Pro Tip: Ask the estimator to photograph each gate location and any grade change, and request that the sketch mark the swing direction for every gate. Those two details prevent the most common post-install complaints.
Why an in-person visit beats a satellite estimate
Remote estimates have a place: they help contractors pre-qualify leads and give homeowners a rough budget range before anyone drives out. But they are not final prices, and treating them as such is where projects go sideways.
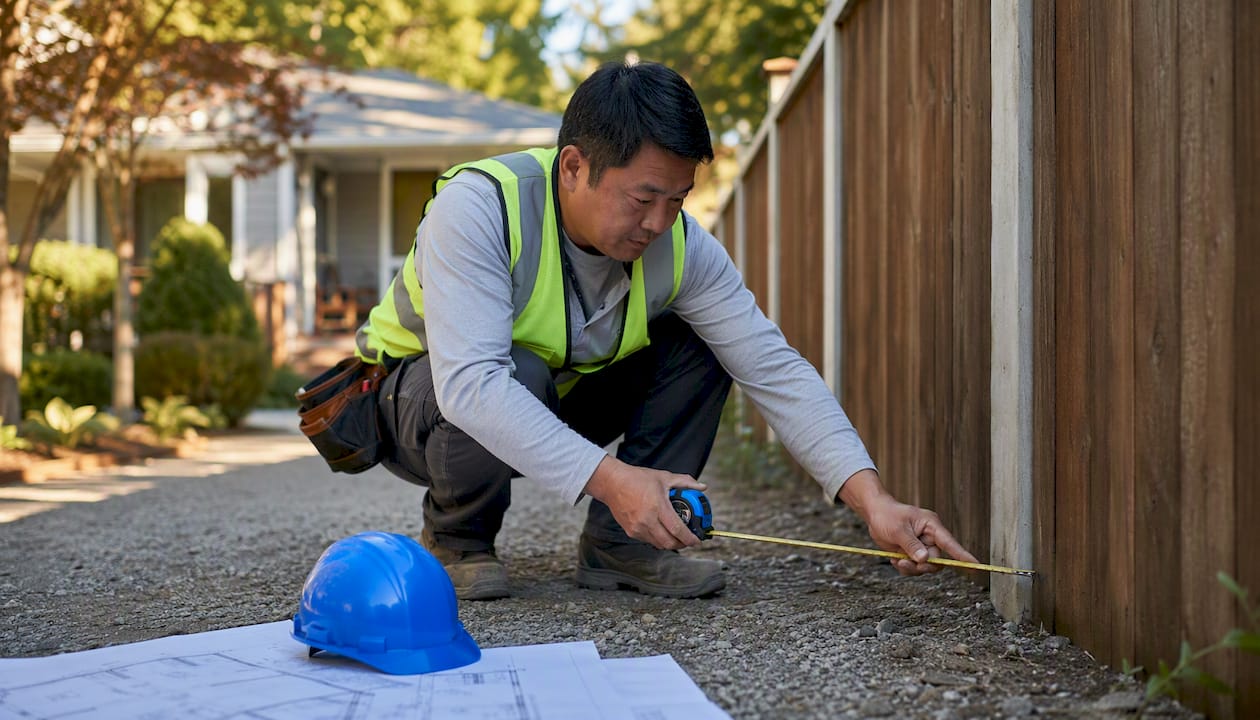
Satellite measurement accuracy typically falls within 5–10% of ground truth, which sounds acceptable until you realize that a 7% variance on a $8,000 fence job is $560 before a single post is set. Add a slope the aerial image did not reveal, a buried concrete pad from an old shed, or a utility easement that shifts the line by three feet, and the gap between the remote estimate and the real price grows fast.
A practical example: a homeowner gets a satellite-based quote for 180 linear feet of wood privacy fence. The estimator arrives and finds the rear 60 feet drops nearly four feet in grade. Slopes add roughly 20–40% to labor time on that run alone. The final price is legitimately higher, and the homeowner who was not told this upfront feels misled. The on-site visit exists to surface exactly these conditions before anyone signs a contract.
Practical consequences of skipping the in-person check: requotes mid-project, change orders after the deposit clears, material shortfalls, and delays while the crew waits on additional concrete or hardware.
What is the timeline from survey to completed fence?
Most site visits take 20–45 minutes for a standard residential property. A written itemized estimate and sketch typically arrive within 1–3 business days after the visit, though many contractors turn it around the same day.
From survey to installation, here is a realistic sequence:
- Schedule the survey: days to a couple of weeks out, depending on season (spring and early summer are the busiest booking windows)
- Site visit: 20–45 minutes on your property
- Estimate delivery: 24 hours to 3 business days
- Review and sign: you compare quotes, ask follow-up questions, and sign the contract with a deposit
- Permit and utility locate: 1–4 weeks depending on your municipality; call 811 is placed before digging
- Material lead time: 1–3 weeks for standard materials; longer for custom or specialty orders
- Installation: 1–3 days for most residential jobs, longer for commercial or complex sites
Deliverables you should receive before installation begins:
- Marked sketch or aerial with the proposed fence line and gate locations
- Itemized estimate with separate line items (linear footage, gates, tear-out, site prep, concrete, permits)
- Warranty terms and payment schedule
- Estimated start date and quote expiration date
Most professional quotes include an expiration date, commonly 30 days, along with payment terms and warranty language. If a quote arrives without those elements, ask for them before signing.
How do contractors price a fence installation?
Contractors price by linear foot for material and labor combined, then list gates, tear-out, site prep, concrete, and permits as separate line items. That structure lets you compare quotes item by item rather than guessing what a lump sum includes.
Typical installed cost ranges by material vary widely and depend on site conditions; chain link is generally the most affordable, wood privacy in the middle, and vinyl or aluminum towards the higher end of the price spectrum.
Labor typically represents a significant portion of the total install cost. Gates are priced separately and can be the single most expensive line item on the estimate. A standard walk gate has a range of installed costs; drive gates can be substantially more expensive depending on width, automation, and bracing requirements. Folding gate costs into a per-foot number hides the real price.
Common cost drivers beyond material choice:
- Slope and grade: adds 20–40% to labor on affected runs
- Rocky or clay soil: post-setting time increases 25–50% in difficult soil
- Limited access: narrow gates or no vehicle access means hand-digging and manual material carry
- Existing fence removal: tear-out and disposal is a separate charge
- Post depth and concrete: a six-foot fence typically requires posts set around 36 inches deep with 2–3 bags of premix per post, adjusted for soil
- Permit and HOA fees: vary by municipality and association; always listed as a separate line item
For material-specific pricing on vinyl, aluminum, wood, or chain link options, Advantagefencenj's service pages break down what each material involves.
How to prepare your property before the estimator arrives
Clear access to the fence line is the single most useful thing you can do. The estimator needs to walk the entire proposed route without moving furniture, debris, or overgrowth mid-visit.
Before the estimator arrives:
- Clear pathways along the full fence line, including side yards and rear corners
- Mark gate locations with a flag, cone, or spray paint if you already know where you want them
- Pull out your deed, plat map, or county GIS printout if you have one
- Note any HOA rules or permit information you have already received
- Locate irrigation heads, outdoor meters, and any buried lines you know about
- Secure pets and keep children away from the work area during the visit
Have these documents ready for faster quoting: past surveys, plat maps, HOA covenants, and any prior permit approvals. A post-installation inspection checklist, like the homeowner prep guide from Proplas, is a useful reference for thinking through what to document before and after any exterior installation.
Give the estimator a single contact point and let them know your preferred communication method for follow-up questions.
Questions to ask the contractor during the survey
The site visit is your best window to confirm scope and protect yourself from surprises. Ask these before the estimator leaves:
- How do you measure and price each run? Do you measure segment by segment?
- How are gates charged? Are they separate line items?
- How deep will posts be set, and how much concrete per post?
- Do you pull permits, or do you advise me on what to apply for?
- What HOA documentation do you need from me?
- What is the payment schedule, and when does the quote expire?
- What is your warranty on materials and workmanship?
- Can you provide proof of insurance and two or three references?
Pro Tip: Ask the estimator to walk you through the assumptions behind each line item. When you compare two quotes later, you want to know whether one contractor is pricing deeper posts, more concrete, or a heavier gate frame. Those differences explain price gaps that otherwise look arbitrary.
Red flags to watch for in an estimate or contractor
A low number on a quote is not always a deal. These are the warning signs that an estimate or estimator may cost you more in the long run:
- No site visit: any final price quoted without walking the property is a guess
- Lump-sum quote with no line items: you cannot compare it, and you cannot hold the contractor to scope
- Refusal to document post depth, gate details, or site conditions: vague scope invites change orders
- No proof of insurance or license: your liability if something goes wrong on your property
- Pressure to sign immediately: a contractor who will not give you 24 hours to review is not confident in the quote
- Missing photos or sketch: no documentation of what was agreed
- No permit guidance: skipping permits creates title and resale problems
- Unusually low price for your region: often means thinner posts, shallower holes, or cheaper hardware
Before you pay a deposit, verify three things in writing: proof of general liability insurance, at least two references from completed jobs, and a fully itemized estimate with line items for gates, tear-out, concrete, and permits. A contractor who resists any of these is showing you something important.
Key Takeaways
The on-site survey is where your fence project's real price gets set. Get it done before you compare firm bids, and compare those bids line by line.
| Point | Details |
|---|---|
| Measure segment by segment | Each run should be measured and priced individually, not as a single total. |
| Gates are separate line items | Drive gates can cost $600–$3,500 installed; never let them get folded into per-foot pricing. |
| Slope and soil change the price | Slopes add 20–40% to labor; rocky or clay soil adds 25–50% to post-setting time. |
| Get a written itemized estimate | The quote must list linear footage, gates, tear-out, concrete, and permits as separate items. |
| Advantagefencenj delivers on-site surveys | Advantagefencenj performs full on-site measurement, photos, sketch, and itemized estimate with permit guidance. |
What contractors wish you knew before the survey
The first thing I check when I walk a property is not the fence line. It is the grade. Slope is the most common unseen cost driver on residential jobs, and it is almost never visible on a satellite image or a county GIS printout. A rear yard that looks flat from the street can drop two or three feet across 80 feet of fence line, and that changes post depth, concrete volume, and labor time on every single post in that run.
The second thing is roots. A mature tree sitting six feet from the proposed line can have roots running well past it. Rocky soil is the third. None of these show up in a remote estimate, and all three of them are legitimate reasons a final price differs from a ballpark figure.
Advantagefencenj's policy is straightforward: every project starts with an in-person measurement. No final price is issued without a site visit, because a price issued without one is not a real price.
Advantagefencenj's on-site survey process and how to book
When you want a fence installed right, the difference between a smooth project and a frustrating one usually comes down to what happened at the estimate stage.

Advantagefencenj performs a full on-site survey for every project: the estimator walks your property, measures each run, photographs corners and grade changes, notes gate locations and site conditions, and produces a marked sketch with a fully itemized written estimate. The written quote typically arrives within 1–3 business days of the visit.
Trust signals Advantagefencenj brings to every estimate:
- Itemized written estimates with separate line items for gates, tear-out, concrete, and permits
- Permit assistance included in the process
- Proof of general liability insurance available on request
- Warranty on materials and workmanship
- References from completed residential and commercial projects
To book your on-site estimate, visit Advantagefencenj's services page or go directly to advantagefencenj.com to request an appointment. Have your plat map or GIS printout ready if you have one, and know roughly where you want your gates. The estimator handles the rest.
Useful sources and next steps
Further reading and tools used by fencing contractors for measuring, estimating, and planning:
- Houzz Pro: Free Fence Estimate Template — what a complete line-item estimate should include
- Advantagefencenj Services — full overview of Advantagefencenj's installation, materials, and permitting assistance
- Advantagefencenj — book an on-site estimate or contact the team directly